Cider Braised Pork Roast with Sweet Potato Fries and Sesame Sugar Snap Peas

pr12

It’s pretty cold in Tulsa these days and the perfect time to use the slow cooker to make a comforting meal with plenty of flavor and stick to your ribs warmth. This was a fun experiment with warming flavors and a great way to use up the many granny smith apples we had in the fruit bowl. It’s a true time saver, as most of the work is done by the slow cooker and the fries only take about 30 – 40 minutes in the oven. The peas come together as quickly as 8 minutes and nothing is very labor intensive.

pr1

You will need:

For the Roast:

A pork shoulder or butt roast around 4 lbs

1 bottle Hard Cider

1/2 bottle Ginger Beer

5 apples – any tart firm variety will do

4 or 5 sage leaves – chopped roughly

A few sprigs of thyme

Salt and Pepper

For the Fries:

2 or 3 peeled sliced sweet potatoes or yams

Olive oil

Salt & Pepper

Red Chili Flake

For the Peas:

Bag of frozen or about one pound fresh Sugar Snap Peas

Sesame oil

Sesame Seeds

pr2

Begin by chopping the apples and herbs. Nothing should be fussy about this, and the apples need to be in somewhat large chunks so they don’t break down completely in the slow cooker

pr3

Season the meat and allow to stand for 30 minutes or so to take the chill off somewhat. Sear the roast in a little canola oil until all sides are nicely golden brown. Our slow cooker can be used over a burner, but a regular frying pan works just fine.

pr5

pr6

Once the roast is browned on all sides, place it, the apples and herbs and the cider and ginger beer into the pot. Cover and set the cooker for 6 hours on low or 4 hours on high. We chose low so the flavors all had time to really come together and to super tenderize the meat. Cook until the internal temperature registers 160. Depending on your cooker, the times may vary slightly.

pr8

About an hour before you plan to serve, preheat your oven to 400 degrees and line a large baking sheet with foil. Peel and slice the sweet potatoes and toss with olive oil. Season with coarse salt, fresh black pepper and a sprinkle of red pepper flakes to taste. You can make them as spicy as you like. Roast, turning occasionally until the fries begin to crisp and brown slightly, and are tender through the centers. Depending on the thickness of your slices, this can take 30-45 minutes. Keep an eye on them, the sugars in the potatoes can burn easily. If they are getting to brown on the outside, but not cooked through, turn the temperature on the oven down.

pr11

Follow the directions on the bag of peas, but cook only half the time. Turn the softened peas into a skillet with some sesame oil and stir fry until crisp tender. Finish with some salt and sesame seeds.

pr10 pr9

Serve the roast after it has had 15 minutes or so to rest. Remove the apples with a slotted spoon and discard the thyme sprigs. You won’t really need to slice the roast, it will most likely be falling apart and super tender. Save the juices from the pan after cooling, they make a uniquely flavored soup with Japanese soba noodles and pieces of the leftover pork & peas!

We hope you enjoy!

pr12

Shrimp Dim Sum

chin13

Gigi is unashamedly passionate about Dim Sum. Having spent time on the East Coast, where you can go to a restaurant and get any variety of Dim Sum and other dumplingesque delights, Tulsa is nearly barren. A trip to our Asian market inspired an experiment of sorts, and while they weren’t perfect, they were delicious! We will continue to perfect our wrapping (the most difficult part), and enjoy even the slightly sad looking ones with a good dunk in dumpling sauce. These can be made a couple hours ahead, so they are great for a happy hour snack, or for dinner all by themselves. We chose to make them the same night we made the lettuce wraps, and frankly, that was a bit too time consuming to do together for our lifestyle. You will note in the ingredient picture, that we have everything together. Don’t let that confuse you, just follow the recipe and allow yourself time to work on the wrapping. They aren’t hard, just a little “fussy” til you get the wrapping right.

chin2

You will need

¾ lb. raw shrimp – cleaned and ground to a paste in the food processor

1 4oz can bamboo shoots – drained and minced

4 tablespoons water

1 ½ tablespoons low sodium soy sauce, or Bragg’s Amino Acids

½ tablespoon rice wine or dry sherry

½ teaspoon sugar

½ teaspoon sesame oil

2 ½ tablespoons corn starch divided

1 ½ tablespoon black pepper

1 package of Goyza dumpling wrappers

A little bench flour

Dumpling Sauce – we used bottled from the Asian Market

The Process:

In a small bowl combine 1 tablespoon of corn starch with about ¼ cup of water and set aside with a pastry brush

Mix together all the ingredients except the cornstarch until smooth – it should be a thick pasty mix studded with the finely minced bamboo shoots

Stir in the cornstarch

chin3

On a very lightly floured surface, lay out the wrappers, a few at a time, and using a small cookie scoop or a couple of spoons, place about a tablespoon of filling onto each wrapper.

chin10

Lightly brush around the outside of each wrapper with the cornstarch and water mixture. Don’t over wet the surface. Fold in half, pressing and crimping to seal in the filling. This is a little daunting, take your time and be patient. Gigi needs more practice!

chin11

Place finished dumplings on a rack, or parchment lined sheet until ready to steam

Bring a pot of water fixed with a steamer basket to a boil, making sure the water does not invade the basket. Steam the dumplings in batches for about 5 minutes. Serve simply with dumpling sauce for dipping.

chin13

Copy Cat PF Chang’s Chicken Lettuce Wraps

chin17

Gigi and Papa love Asian foods, but aren’t always wanting to go out or order delivery. The sodium levels can be high and MSG gives Papa headaches. After searching several recipes for lettuce wraps, we developed this one, which has less sodium, no MSG and still provides the flavor and delightful crunch that we were craving. The key to making this recipe work is to have all of your prep work done in advance. It’s a bit time consuming to chop everything and line it out, so this may be something you’d want to save for a weekend.

chin1

Please note, this picture also contains items used in our dim sum recipe that we’ll be posting shortly.

You will need:

8 or so shitake mushrooms Minced – Fresh is best, or re-constitute dried in a bowl of hot water for 30 minutes – wash well either way

1 teaspoon cornstarch

2 teaspoons dry sherry – real sherry, not vinegar. It’s good to have a small bottle of this on hand all the time, many recipes call for it, and one bottle will last a long time.

2 teaspoons water

Salt and pepper

1 ½ lbs ground chicken. We ground ours in the food processor, but you can buy it pre-ground to save time.

Canola or Peanut Oil – about 5 tablespoons

Fresh ginger – about a tablespoon. Peel it with a spoon before mincing. Do not substitute dried, the flavor just won’t be the same. Store any remaining ginger in the freezer to keep it ready to use in other recipes.

2 garlic cloves minced

2 green onions minced (use the white and the green)

1 8oz. can bamboo shoots, drained and minced

1 8 oz can water chestnuts minced

1 2 oz package cellophane noodles

3 tablespoons Hoisin sauce

1 tablespoon low sodium soy sauce, or Bragg’s Amino Acids which tastes just like soy but provides more nutrition

2 tablespoons fish or oyster sauce

1 teaspoon sesame oil

1 teaspoon sugar

2 teaspoons cornstarch

1 head of iceberg lettuce halved and chilled well

The process:

chin5 chin6 chin7 chin8

Again, we stress that mis en place will make this go more quickly, and as you use your ingredients, you can put them away and clean your workplace so that by the time dinner is served, you will need only clean your pan or wok and the dishes.

chin4

In a bowl, combine the Hoisin, Braggs or soy, fish/oyster sauce, sesame oil, sugar and 2 teaspoons of cornstarch, whisk together with a fork and set aside.

Heat a wok or large skillet with 3 tablespoons of canola or peanut oil and stir fry the chicken until no longer pink. Remove from the pan and set aside

chin14

Add a little more canola/peanut oil to the pan and add the ginger and garlic and onions, stirring to fry for just about a minute

chin15

Add the mushrooms, bamboo shoots and water chestnuts and stir fry for about 2 minutes. Return the chicken to the pan and stir to combine. Add the cooking sauce from the bowl and cook until thickened and hot

chin16

Remove to a bowl and clean out the pan. Add enough canola or peanut oil to coat the bottom of the pan and heat until shimmering. Carefully place the cellophane noodles into the oil, they will immediately puff up and may spatter so use caution! They only take a minute or two and are done when they are puffy. Carefully remove to a bowl and break apart slightly.

chin12

Serve with cold crunchy lettuce leaves, the chicken mixture and broken noodles. We also heated up some frozen store bought egg rolls just for fun!

chin17

Carrot Cake

cc15

We both love carrot cake. It isn’t too sweet, and as desserts go, not too bad for you, at least there is fiber and protein involved! We’ve tried a lot of recipes in search of one that provides a good dense moist cake, and eventually blended a few ideas to come up with what we feel is a perfect, heavy, moist cake that holds up well to storage and is not too fussy. The pineapple chunks assist in adding moisture and texture and a simple not too overpowering sweetness. Fresh is best, but you can use drained, canned chunks that you re-dice to a smaller chunk.

It’s important to remember when baking, to assemble all of your ingredients ahead of time “mis en place”. Get your bowls and measuring cups/spoons close at hand and your mixer ready, spatula handy, and a damp towel for ongoing clean up. As you use the ingredients, put them away immediately. Keep a sink of hot soapy water on standby and have room in your dishwasher to be able to put dirtied bowls and cups in it right away. By doing this, when you put whatever you’re baking in the oven, the kitchen will be mostly clean and you’ll only have to wipe down your counters and mixer, and possibly wash the bowl and attachments if you will need them again for frosting.

cc1

You will need:

For the cake:

2 cups granulated sugar

1 1/3 cups vegetable oil

3 extra-large eggs, at room temperature

1 teaspoon pure vanilla extract

2 1/2 cups plus 1 tablespoon all-purpose flour, divided

2 teaspoons ground cinnamon

2 teaspoons baking soda

1 1/2 teaspoons kosher salt

1 cup raisins

1 cup chopped walnuts

1 pound carrots, grated – we use the food processor, but you can also buy them pre-shredded in a bag

1/2 cup diced fresh pineapple

cc2 cc3 cc4

For the frosting:

8oz package of cream cheese, at room temperature

6 tablespoons unsalted butter, at room temperature

1 teaspoon pure vanilla extract

¾ – 1 pound confectioners’ sugar

For the decoration:

Walnut halves

Preheat the oven to 350 degrees F.

cc5

Grease and flour, or, use a baker’s spray coating 2 8 or 9 inch cake pans. We use 9 inch springform pans. They are non-stick coated, but we still spray them.

For the cake:

Beat the sugar, oil, and eggs together in the bowl of an electric mixer fitted with the paddle attachment until light yellow. Add the vanilla. In another bowl, sift together 2 1/2 cups flour, the cinnamon, baking soda, and salt.

cc6

Add the dry ingredients to the wet ingredients. Toss the raisins and walnuts with 1 tablespoon flour. Fold in the carrots and pineapple. Add to the batter and mix well.

cc7 cc8 cc9

Divide the batter equally between the 2 pans. Bake for 55 to 60 minutes, or until a toothpick comes out clean. Allow the cakes to cool completely in the pans set over a wire rack.

cc10 cc11

For the frosting:

Mix the cream cheese, butter and vanilla in the bowl of an electric mixer fitted with the paddle attachment until just combined. Add the sugar slowly and keep the mixer on low until moistened or you’ll be wearing powdered sugar, and mix until smooth, adding additional sugar until it reaches a nice spreadable consistency.

cc12

Make sure the cakes are completely cooled before frosting, because they are dense, this will likely take about 45 minutes. While still slightly warm, turn the cakes out onto the racks to finish cooling.

cc13 cc14

Place 1 layer, flat-side up, on a flat plate or cake pedestal. With a knife or offset spatula, spread the top with frosting. Place the second layer on top, rounded side up, and spread the frosting evenly on the top and sides of the cake. Decorate with walnut halves.

cc15

Roasted Chicken Thighs with Garlic, Lemon and Capers

lemch13

Gigi has made this easy elegant and flavorful dish for about 3 years. It’s a delicious weeknight favorite, and wonderful scaled up for dinner parties. It makes use of the preserved  lemons you should already have in your pantry, and is a “go to” anytime you want simple comfort food. You’ll want a crusty loaf of French or Italian bread for schmearing the garlic and dipping into the sauce. We usually serve a simple green to complete the meal.

lemch1

You will need: (keep in mind you can scale this down quite easily to serve 2-4 or up to serve a crowd)

Ingredients:

  • 20 chicken thighs – you can substitute firm pieces of white fish, but lower the heat and adjust the cooking time (shortening) if you aren’t a chicken person.
  • 30 cloves of garlic, peeled but left whole – if you aren’t in the mood to stand and peel garlic, pick up a bag of pre-peeled cloves in the produce section of your grocer, it’s a huge time saver
  • 1/3 cup capers, rinsed
  • 1/2 cup chopped preserved lemon (just the rind, not the pulp) about 1 1/2 lemon’s worth
  • 1 cup dry white wine
  • 2 tablespoons finely minced rosemary
  • 2 tablespoons finely minced thyme
  • 2 teaspoon red pepper flakes
  • 1/2 cup EVOO
  • kosher salt and fresh black pepper to taste

lemch2 lemch3 lemch5 lemch6 lemch7

To prepare, make sure your garlic is peeled, and herbs chopped, lemons peeled and diced.  You will discard the pulp and seeds and use only the rind.  A foil lined sheet pan will make clean up really easy.

Heat the oven to 450℉ and position a rack in the middle.

In a large bowl toss the chicken, oil, rosemary, thyme, and red pepper flakes.

lemch4

Arrange the thighs on a large, rimmed baking sheet skin side up.  Sprinkle with salt and pepper to taste, toss the garlic cloves throughout the pan and pop it in the oven.  Let cook for about 20 minutes.

lemch8 lemch9

Pour the wine over the chicken and stir the garlic cloves to help them cook evenly, cook for another 10 minutes.  Add the capers and the lemon and cook for a final 15 minutes, or until the chicken is fully cooked.

lemch11 lemch10

Remove from the oven, tent with foil and let sit for 10-15 minutes to rest.

Serve the chicken with spoonfuls of pan jus laced with lemon and capers, and a couple of garlic cloves per person.

lemch12

Serves 8-10

Leftovers translate beautifully into a lemony garlic soup, pull the meat apart and discard the skin, add the pan juices to some additional stock, sautéed onions & carrots and cooked rice round out a fast soup that’s always a winner when it’s cold. We sometimes make extra chicken to freeze so we can have the soup ready in a snap!

Shrimp and Grits

shrimpgrits8

Papa loves Shrimp and Grits. He likes to douse a little hot sauce over the top, and on a chilly night, the cheesy, creamy texture of the grits, with the nice bite of a hot bacon fried shrimp is a lovely comfort food. This is a very quick dish to make if you buy your shrimp raw, deveined and shelled. It’s a little more time consuming and cheaper if you choose to do that at home. The savings can be about a dollar a pound and sometimes, the peeled and deveined are not available at your grocer. It’s not hard to do, just takes some time. The most important thing is to have all of your mis en place (French for everything in place) done ahead of time, because it is so quick cooking. This is a terrific Monday night meal if you prep your shrimp on Sunday afternoon or evening, and refrigerate it until you’re ready to cook, the whole meal can be done in about 30 minutes!

shrimpgrits1

shrimpgrits2

You will need:

1 pound of shrimp

1 cup of quick cook grits

Water or Milk to fulfill the grits recipe on the carton. Milk will be creamier, but you have to watch it carefully so it doesn’t burn – your choice. We use half water, half milk

2 cups grated sharp cheddar cheese

6 slices of bacon chopped up into small bits

4 teaspoons of fresh lemon juice

½ cup of thinly sliced green onions (scallions) white and green

1 garlic clove chopped thinly

Parsley – normally we use about 1/8 cup fresh, we did not have that this time so we used about 2 tablespoons dry

shrimpgrits3

Peel and devein the shrimp. Pinch at the tail end and use your fingers to dislodge and remove the shell. Using a sharp knife, gently slice through the rounded back of the shrimp. You should see a very thin dark “tube” that you can pull out. This is the intestinal tract of the shrimp, so it needs to be removed. It should pull out easily. Then pull off the tail. Keep a bowl or bag for discarding the shells and veins and put the cleaned shrimp into a colander. When finished, rinse the cleaned shrimp and allow to dry. If you are cooking right away, put them on a clean dish towel or layers of paper towel to dry, if storing until later in the day or overnight, line your storage container with paper towels. You want the shrimp to be dry so it sears and does not steam when you go to cook.

shrimpgrits5

Cook the grits according to package directions, substituting milk for the water if you wish. Watch it because it can scorch. Halfway through the cooking time for the grits, cook off the bacon, let it get crispy and remove with a slotted spoon onto paper towels to drain. Pour off all but two tablespoons of bacon fat (save for other uses in a jar you can refrigerate). Throw in the scallions and garlic and cook for just 2-3 minutes, then add the shrimp, lemon juice and parsley. Watch the shrimp closely, toss frequently and the minute it turns pink, remove it from the heat and toss the bacon back into the pan.

shrimpgrits7 shrimpgrits6

By now the grits should be done, so add the cheese, stirring to combine and get creamy.

Plate the grits on the bottom and spoon the shrimp mix over the top. We like a salad ahead of time or on the side. Serve Tabasco or Louisiana Hot Sauce as a condiment.

A fun week night meal doesn’t have to be boring, and most of the prep can be done at the grocer, or the night ahead. We hope you enjoy!

shrimpgrits8

Chicken Sausage, White Bean and Kale Soup

wbcsoup1

When it’s chilly outside, a hearty soup is always great to warm you up and fill the belly. Papa loves to make his own sausage, and this was the perfect excuse to get out the meat grinder and make some home made chicken sausage for a white bean and kale soup. We found chicken thighs on sale and went to town on a flavorful, satisfying soup we think you’ll enjoy. If you don’t want or can’t make your own sausage, there are lots of options in the butcher case, just remove the casings and brown like we did.

wbcsoup3

You will need:

Chicken thighs – package of 12 or so

2 cans cannellini beans

3 carrots

1 onion

3 or 4 stalks celery

A bunch of kale

Fennel seed

Garlic 2-3 cloves

Crushed red pepper – about a tablespoon (to taste)

Oregano – about a tablespoon

Basil – about a tablespoon

Salt and Pepper

Olive oil

4-6 cups chicken stock

To make the sausage, make sure your chicken is super cold, even put them in the freezer for 15 minutes or so – this makes it easier to slice and grind.

wbc5

Cut the chicken into thick chunks. Return to the fridge or freezer and dice your garlic and vegetables.

wbcsoup7 wbc4

Fit your mixer with the meat grinding attachment, or, if using a different kind of grinder get it set up.

wbcsoup9

Grind the chicken on the coarse grind setting. Mix in the seasonings and garlic by hand and pass back through the grinder again on the fine setting to completely combine the meat with the seasonings.

wbcsoup10 wbcsoup11 wbcsoup12

Heat a couple tablespoons of oil in your soup pot, add the vegetables and sautee until the onions turn translucent. Add the sausage and brown, breaking up the sausage until it’s no longer pink.

wbcsoup13

Add the beans and stock and bring to a slow simmer.

wbcsoup14

While the soup comes to a simmer, strip the kale from the stems and give it a rough chop.

Add the kale to the pot and allow it to cook in the simmering soup for about 15 minutes. Taste and adjust seasonings as needed.

wbcsoup15

Served with a lovely crusty bread, this soup is sure to please! A one pot meal that is even better the next day! This soup does not freeze well because of the kale (it can turn black and get slimy) so if you can’t eat it all, by all means share with a friend!

wbcsoup2

Julekage (Swedish Christmas Bread)

jul9

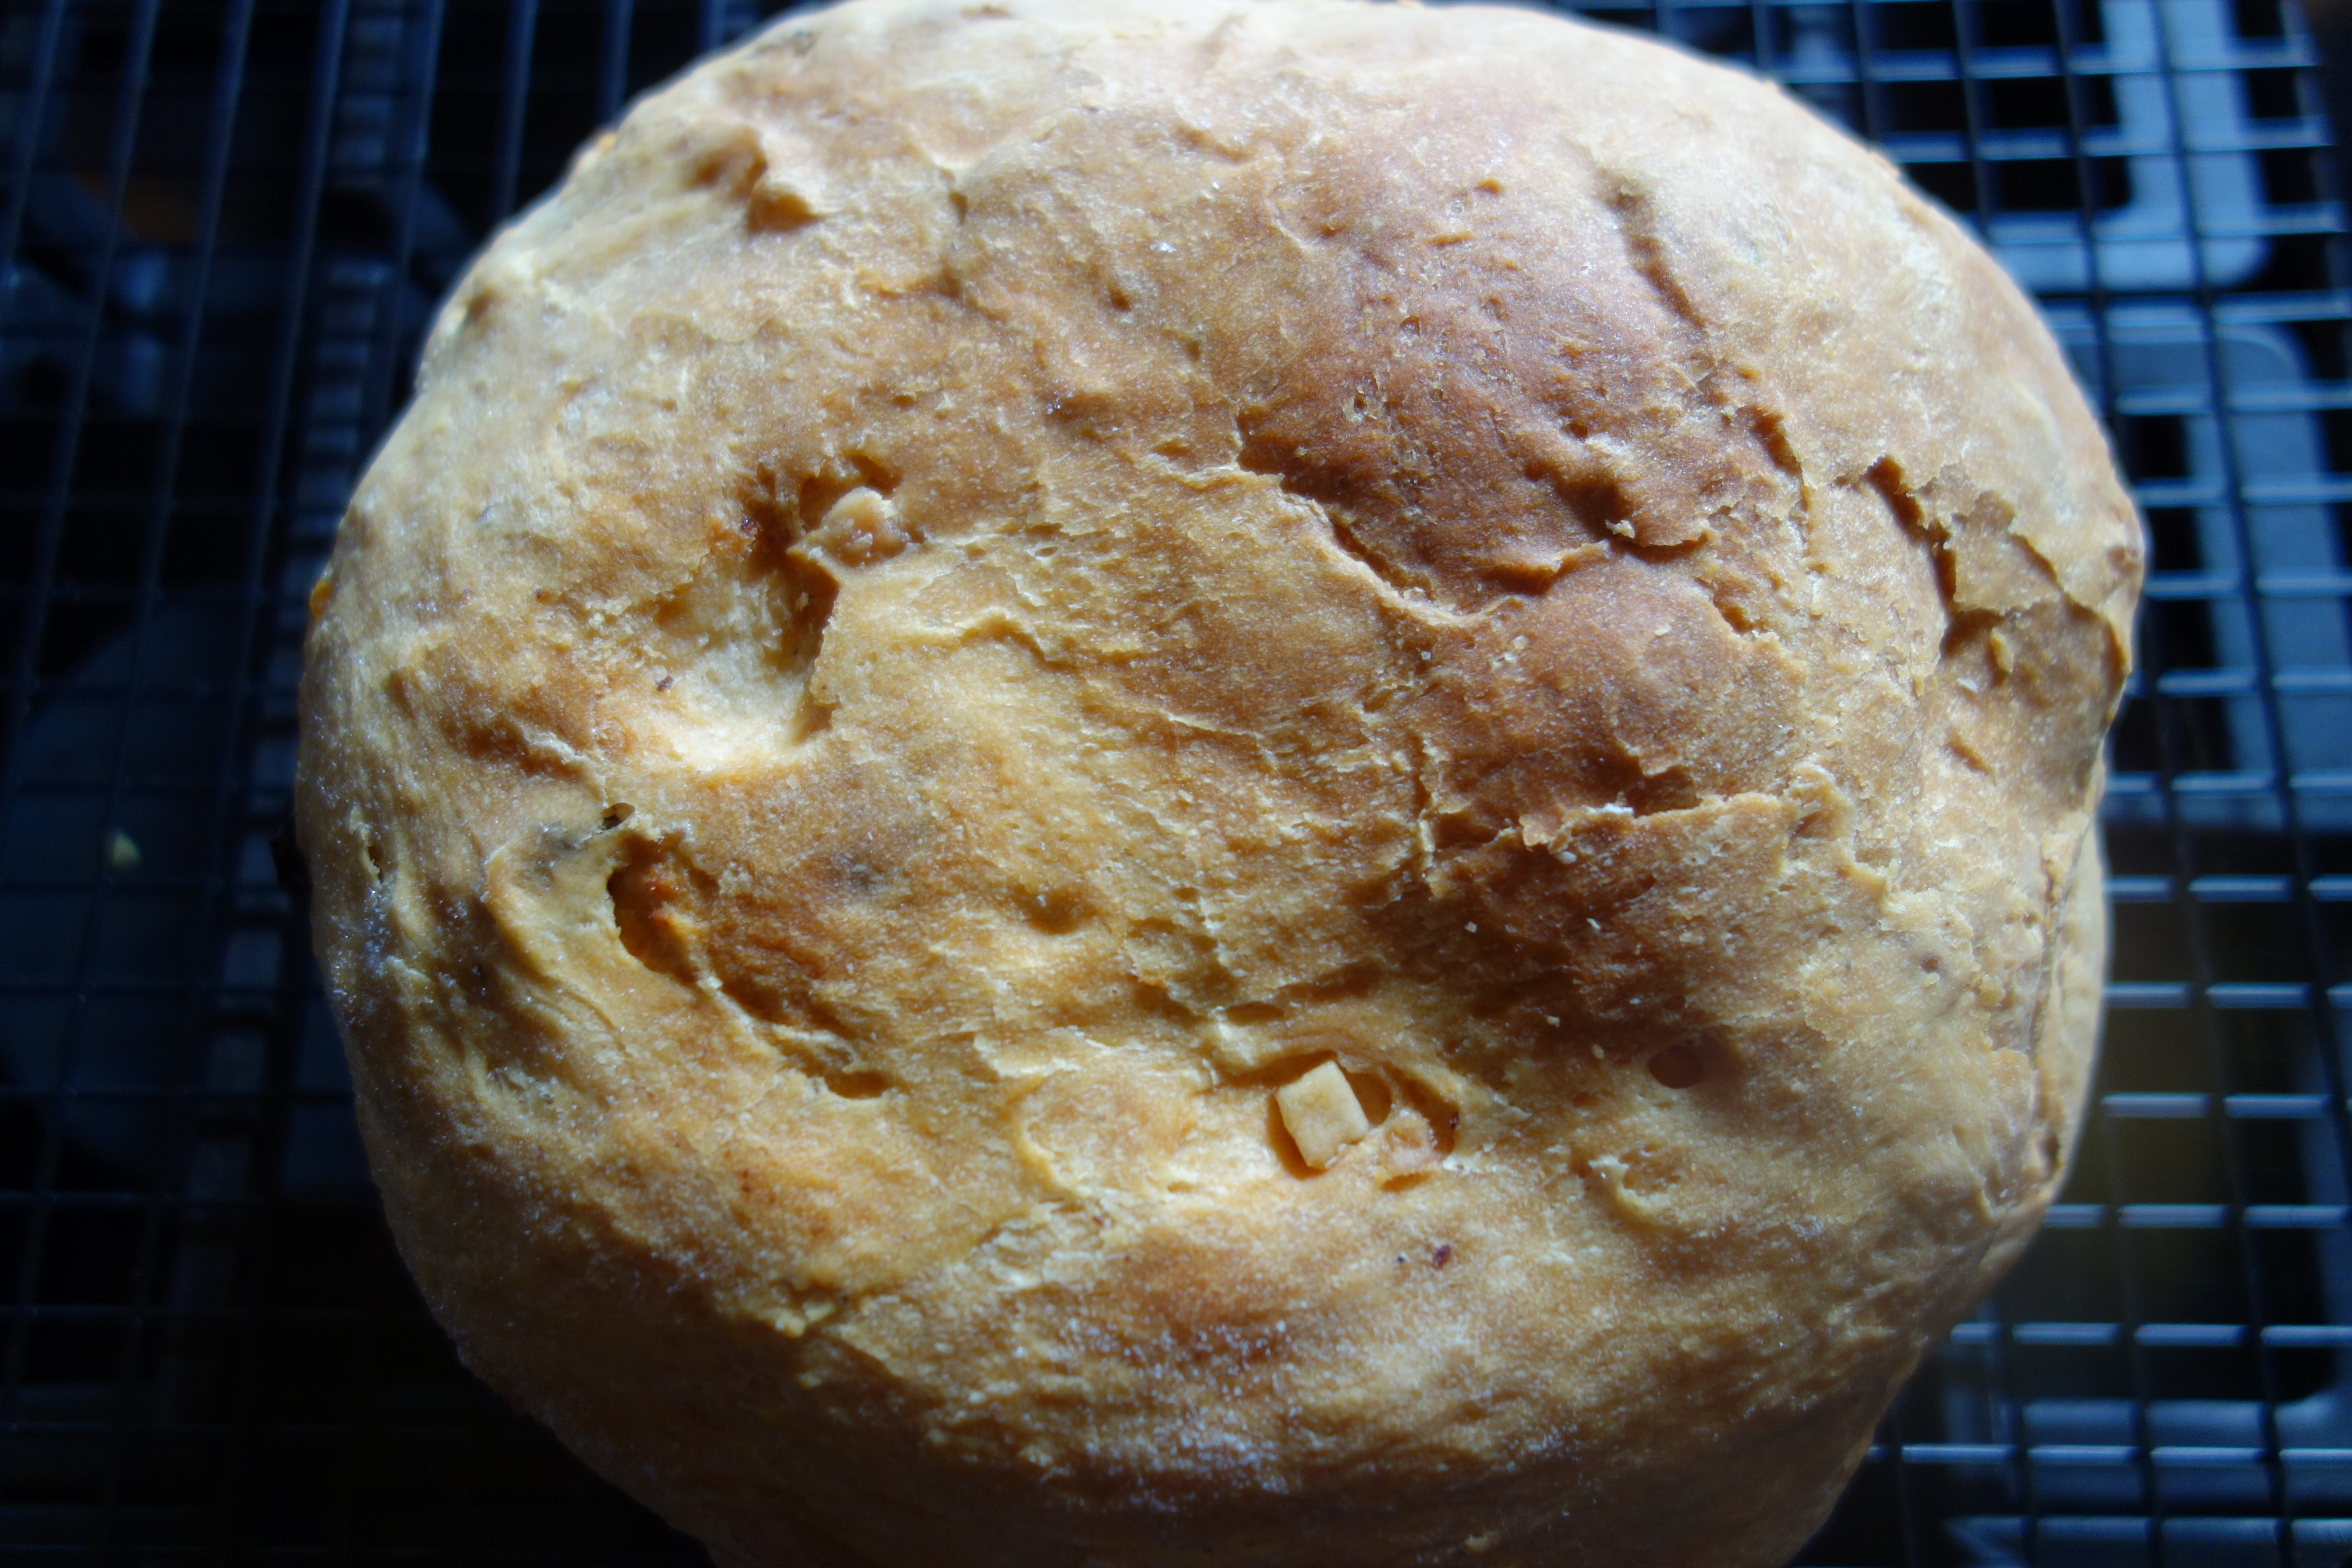
Gigi has a strong Swedish heritage in her family, and Julekage is a traditional Christmas bread she grew up with. Every Christmas morning kids were allowed to discover their Santa presents, and unload their stockings, and then the whole family would have Julekage and juice before opening the rest of the presents. The flavor reminds her of the holiday and the anticipation of more gifts. It’s delightful toasted and needs no glaze or frosting as the candied fruit is just sweet enough to start the morning off right! Our children and Grandchild have come to expect it, and now we send it up to Minnesota for Gigi’s Mom and sister and family to enjoy.

jul1

You will need:

1 package dry yeast

¼ cup warm water (105-115 degrees) think bath water, NOT TOO HOT!

¾ cup lukewarm milk – scalded and then cooled

¼ cup sugar

½ teaspoon salt

1 egg

¼ cup shortening

¼ cup raisins

¼ cup candied fruit – like one would use for fruitcake

3 ¼ – 3 ½ cups white all purpose flour

¼ cup milk + 2 tablespoons sugar mixed

In a large microwaveable measuring cup, scald your milk and set aside to cool. This takes a very long time, so plan ahead…at least 30 minutes before you begin building your bread.

We used our Kitchenaid mixer with the paddle first, and then the dough hook and it was a no muss, no fuss easy way to do it. You can surely mix it by hand if you want.

jul2

Dissolve the yeast into the warm water in the bowl. You can add a little of the ¼ cup of sugar to give it some “food” to eat.. Yeast is ALIVE!

Add the cooled milk, sugar, salt egg, shortening and fruit and 2 cups of the flour.

Beat on low speed for a minute or so until things start to look blended. Stop the mixer and scrap the sides down and beat again on low to medium for 2 minutes.

jul3

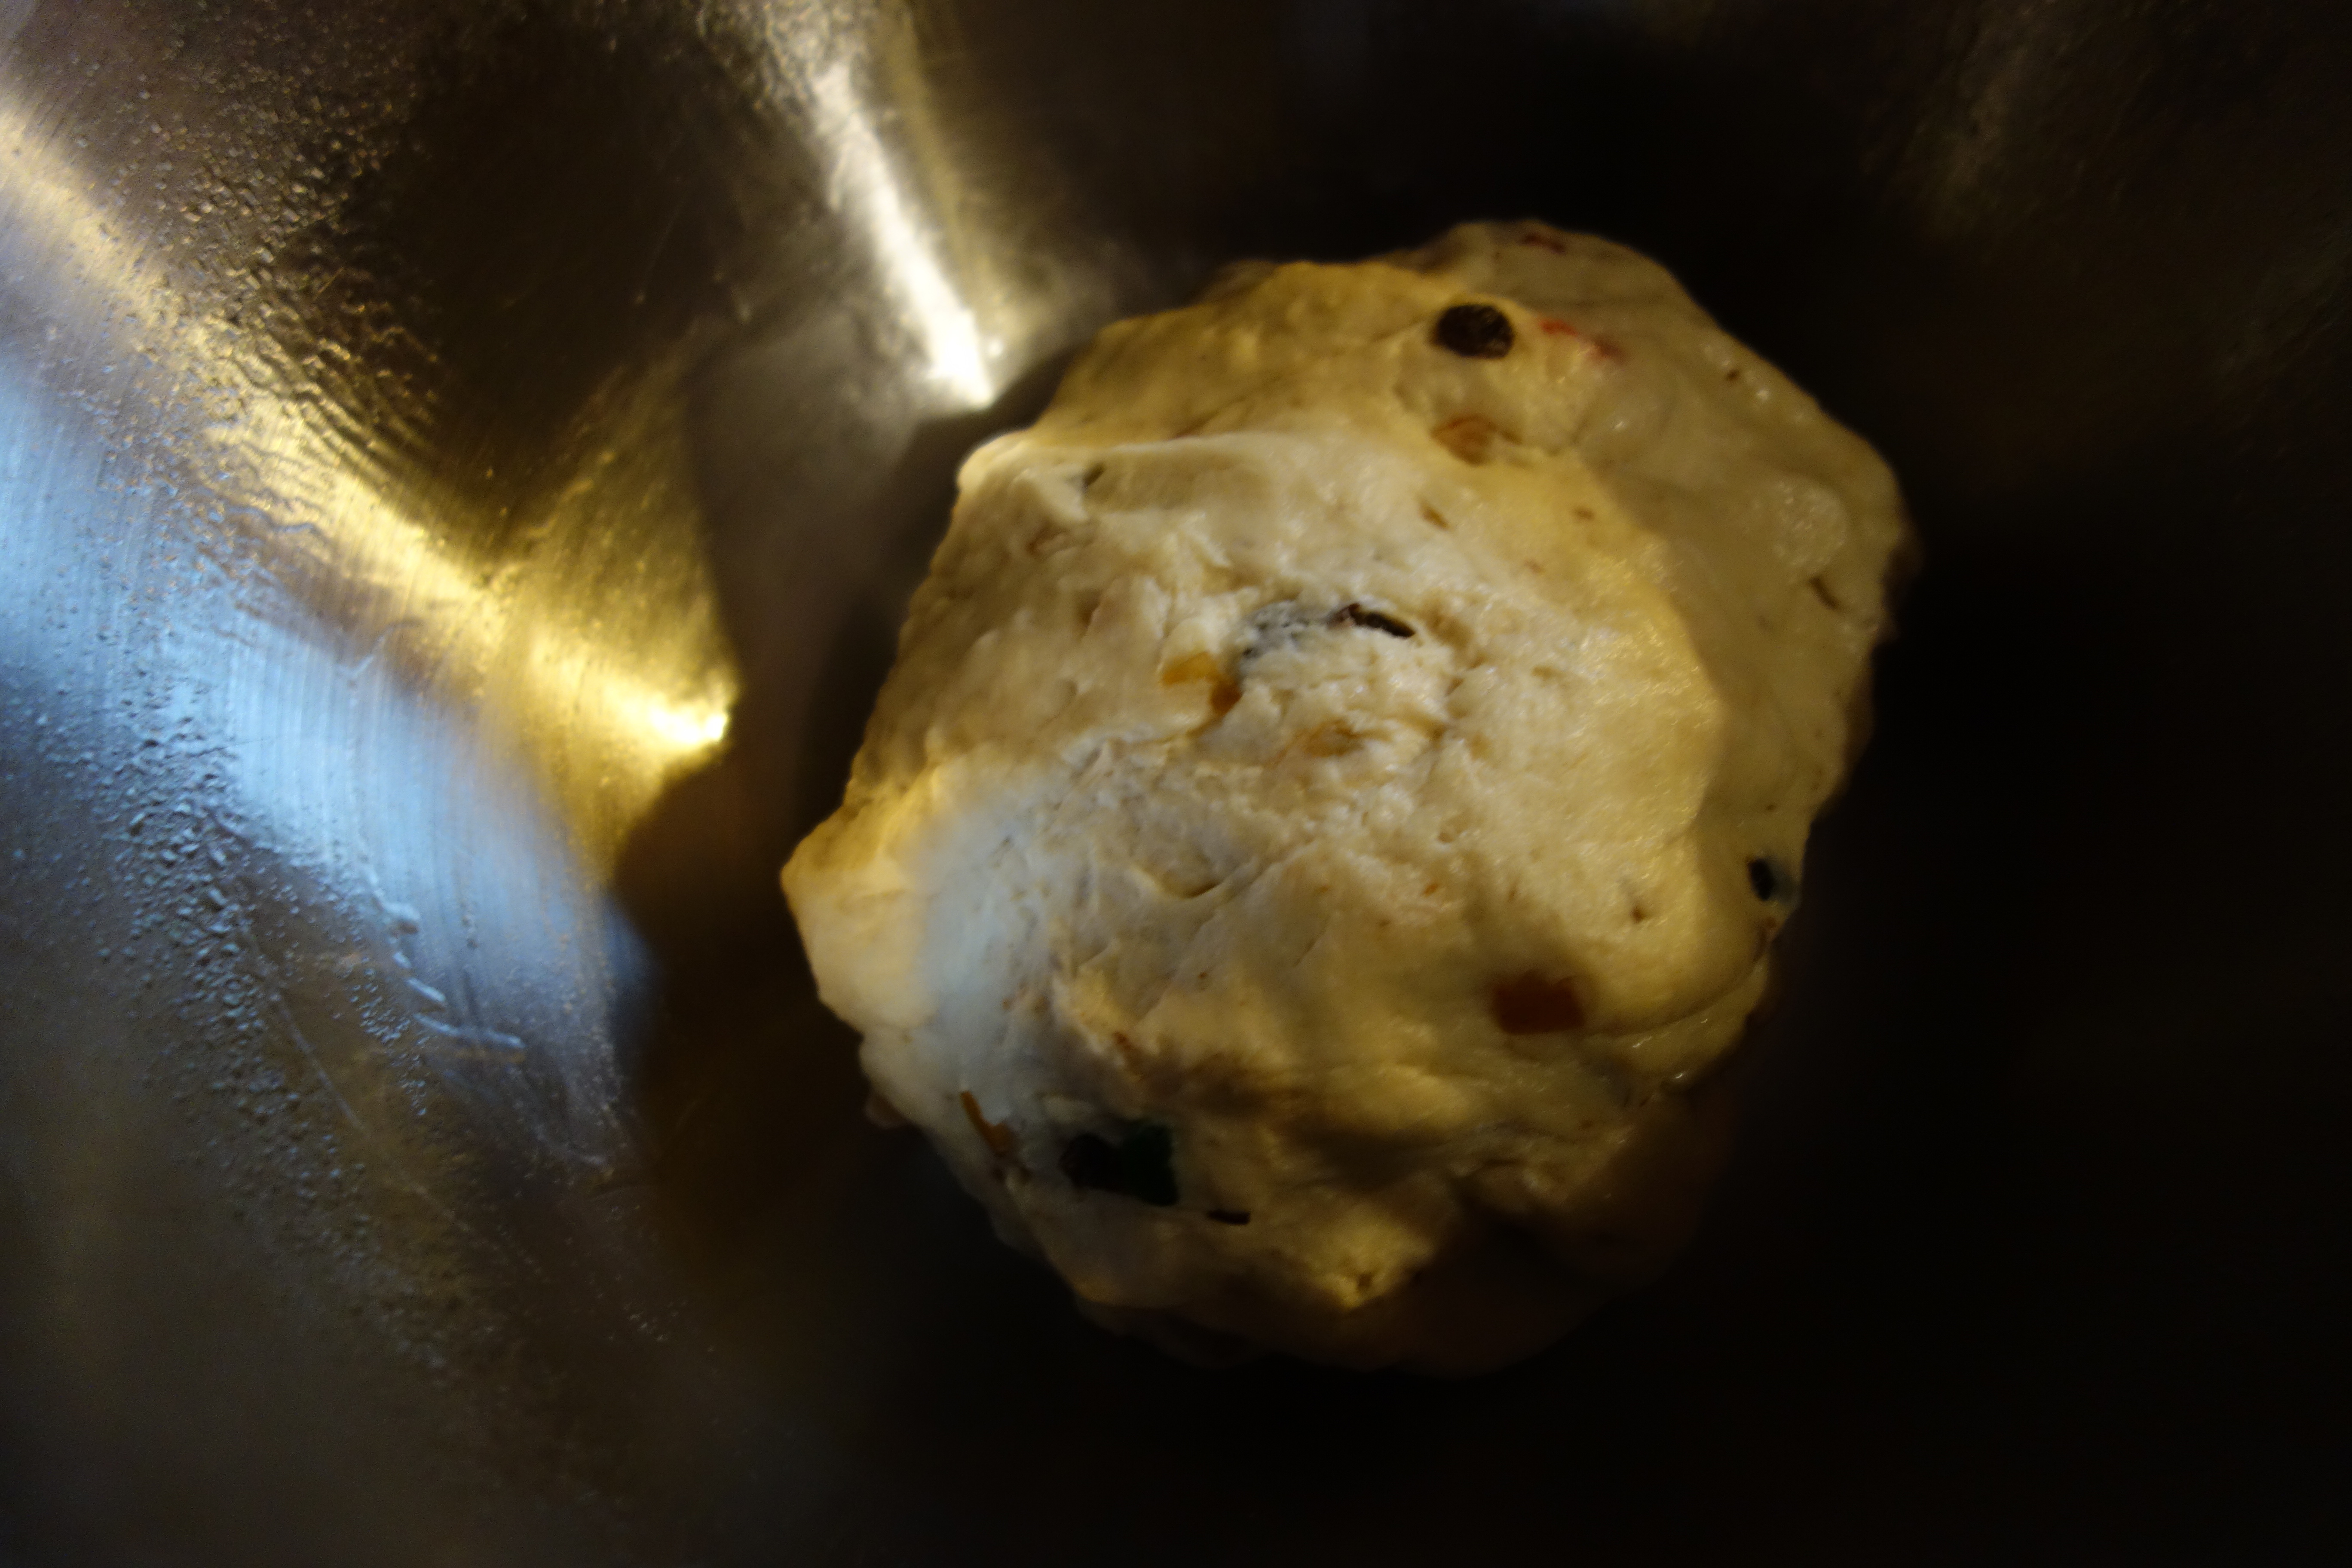
Switch to the dough hook, scrape down the bowl and add about a half cup more flour, “knead”, adding more flour sparingly until the dough balls up and becomes smooth and elastic. You will find you will stop the mixer every minute or so to feel the dough. Total time will be around 5-7 minutes.

jul4

Grease a LARGE bowl with some more of the shortening, and place the dough ball inside, covering with a clean cloth and let it rest until it’s doubled in size. This will take about an hour to an hour and a half. Push down on the dough with one finger after about an hour, if the indentation remains, it’s ready.

jul5

Punch the dough down with a fist a couple times to deflate… get out some aggression, it’s often a sturdy dough that needs some manhandling. Don’t pay attention to how old Gigi’s hand looks!

jul6

Form it into a round loaf and place in a greased 9 inch round pan.

Melt a Tablespoon or so of butter and brush the top and let rise until doubled. About another 45 minutes.

jul7

Place in a 350 degree oven and bake until golden brown – about 35-45 minutes. The bottom, when knocked on should sound hollow.

Transfer to a wire rack, brush with the milk and sugar mix and allow to cool to room temp before putting in a bag until service.

This freezes well.

Handmade Pita Bread and Hummus

pita9

Gigi and Papa love Middle Eastern and Indian Foods. Nothing satisfies “the munchies” better than a glob of homemade Hummus on some fresh warm pita bread. You don’t have to go to a restaurant or grocer to get these delightful flavors. Both recipes are very straightforward and fairly quick to do. The cost is less than 1/3 to make them at home versus buying pre-made. You also get the benefits of the house smelling like a bakery and that wonderful waft of garlic and lemon when you whirl up the Hummus! This is an excellent party or Happy Hour food too! The Pita can be used for sandwiches, mini pizzas and other dips as well. Try them once and you’ll be so proud of yourself and want to experiment with all kinds of applications.

pita1

For the Pita you will need:

1 cup warm water (not hot or boiling) 2 teaspoons active dry or instant yeast 2 1/2 – 3 cups all-purpose flour 2 teaspoons salt 1-2 teaspoons olive oil (optional)

We used the Kitchenaid fixed with the dough hook for the whole mixing job. Super quick and easy clean up!

Mix the water and yeast together, and let sit for about five minutes until the yeast is dissolved. Add 2 1/2 cups of the flour (saving the last half cup for kneading), salt, and olive oil (if using).

Using the dough hook, knead the dough for about 5-7 minutes, it may not take that much time with the machine, but if you are doing it by hand, expect to get tired and take a rest about halfway through. Continue until the dough is smooth and elastic. Add more flour as needed to keep the dough from sticking to your hands or the bowl, but try to be sparing. It’s better to use too little flour than too much.

Clean the bowl you used to mix the dough and film it with a little olive oil. Set the dough in the bowl and turn it until it’s coated with oil. Cover with a clean dishcloth or plastic wrap and let the dough rise until it’s doubled in bulk, 1-2 hours.

pita2

At this point, you can refrigerate the pita dough until it is needed. You can also bake one or two pitas at a time, saving the rest of the dough in the fridge. The dough will keep refrigerated for about a week.

pita5

When the dough has risen enough, gently deflate the dough and turn it out onto a lightly floured work surface. Divide the dough into 8 equal pieces and gently flatten each piece into a thick disk. Sprinkle the pieces with a little more flour and then cover them with a kitchen towel or plastic wrap until you’re ready to bake them. We didn’t want a second rise on them, so we moved right ahead.

pita6 pita7

Preheat the oven with a baking stone inside to 450 degrees. If you don’t have a baking stone, use a cast iron griddle (oven safe) or a cookie sheet.

Using a floured rolling pin, roll one of the pieces into a circle 8-9 inches wide and about a quarter inch thick. Lift and turn the dough frequently as your roll to make sure the dough isn’t sticking to your board. Sprinkle with a little extra flour if it’s starting to stick. If the dough starts to spring back, set it aside to rest for a few minutes, then continue rolling. Repeat with the other pieces of dough

. If you don’t have a baking stone, place a large baking sheet on the middle rack to heat.

pita8

Place the rolled-out pitas directly on the baking stone or baking sheets (as many as will fit), and bake for about 3 minutes.. The pita will start to puff up after a minute or two and is done when it has fully ballooned. Cover baked pitas with a clean dishtowel while cooking any remaining pitas. For a more toasted “chip” texture, flip for one minute and then remove.

Pitas will keep almost a week in a bag in the fridge, and are easily reheated in a skillet or microwave.

pita3

For the Hummus You will need:

2 cans of chickpeas (Garbanzo Beans) one drained

2 or more cloves of garlic roughly chopped

3 tablespoons of tahini –sesame seed butter

The juice of 1-2 lemons

Olive oil – amount varies, approximately ¼ cup, enough to make it smooth and creamy to your liking.

Salt and paprika to taste

Simply place all ingredients except olive oil into the food processor and pulse/blend until fully pureed. Stream in some olive oil until the texture is near the level of creaminess that you want. Taste, adjust seasonings, (salt, lemon juice, paprika) and blend again. Add additional olive oil if you wish. Serve at room temperature, refrigerating leftovers. Lasts about a week in the refrigerator.

pita4

Scalloped Potatoes with Ham and Asparagus

scal10

Papa’s Grandma Ream had a delicious Scalloped Potato recipe that has been passed down through the generations. It’s an easy meal that accepts any protein (or none), and certainly stretches a budget. We had a hunk of ham left over from our Thanksgiving feast and this seemed like the perfect way to enjoy it. The grocers had lovely asparagus on sale, so this meal was a “no brainer”! It’s a great comfort food, simple dish that fills the belly and makes for great leftovers.

scal1

You will need:

Flour – ¼ cup

Butter ¼ cup

Cream of Mushroom soup – We like Amy’s Organic, but any kind will do

About a pound of ham – precooked and diced

Whole Milk – about 2 cups

Onion – ½ medium onion grated with a fine grater

8 or so washed and sliced potatoes.

A Saucepan

A 9×13 baking pan

Pre-Heat the oven to 350 degrees

Dice the ham into small (quarter inch or so) and set aside

scal2

Wash, peel and slice the potatoes into very thin “discs”

Grate the onion over the ham and toss to combine.

scal4

Spray a 9×13 baking dish with non-stick spray

Layer ½ of the dish with the potatoes and ham dices

scal3

In a saucepan, melt the butter and add the flour to make a roux… A flour and butter paste that can cook slowly for about 5 minutes to cook the flour taste out. Slowly add the milk to the paste, whisking as you go. Add the cream of mushroom soup and add more milk if needed to make a thin “gravy”. It will get thicker with the potato starch and heat in the oven.

scal6

Pour half the “gravy” over the potatoes and ham

Layer in the rest of the potatoes and ham, and then the rest of the “gravy”.

Bake at 350 until it’s bubbly in the middle and tender when poked through with a fork in the center. Allow to rest for 10 minutes before serving.

scal7

For the Asparagus:

One bunch of Asparagus – Bend back a thick stem to see where it snaps, and trim the entire bunch to that length. Melt 2 Tablespoons of butter and one Tablespoon of oil in a sauté pan. Add the Asparagus and salt well. Toss and watch until it’s tender crisp

scal8

It’s a simple but comforting meal that pretty much everyone loves!